Buyers guide to all-grain brewing
Choosing the right products can seem difficult, especially when you're just getting started. So to make things easier for you, we have collected some of our most popular equipment, starter kits and all-grain recipe kits in Humlegårdens Buyer's guide!Brewing systems for all-grain brewing 10 - 50 liters of beer
The methods for brewing beer may differ, but they stem from the same basic principles: crushed grains are mixed with hot water to become a mash. This mash is kept warm for about one hour before separating the liquid (the wort) from the spent grains. The wort is then boiled with hops, chilled and fermented with yeast.
You may choose to buy a complete brewing system, or to have more of a DIY-approach and combine equipment yourself.
Some popular choices for brewing systems include:
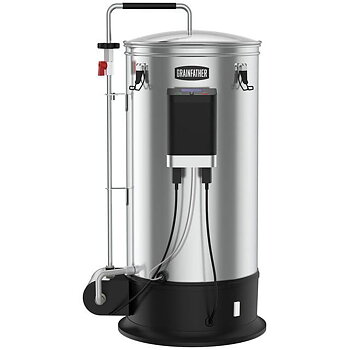
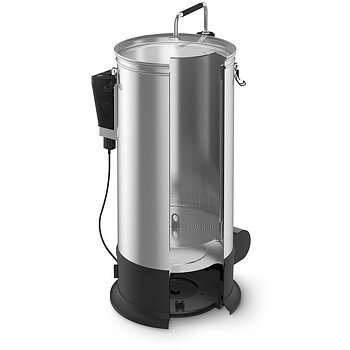
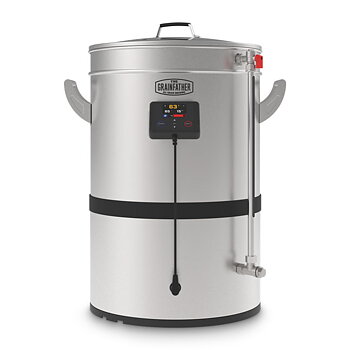
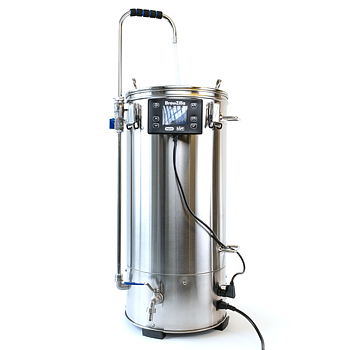
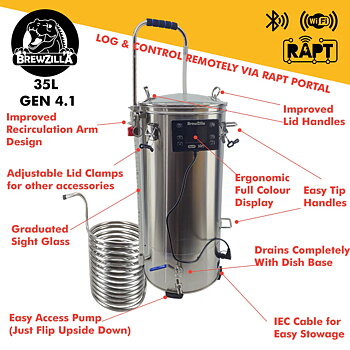
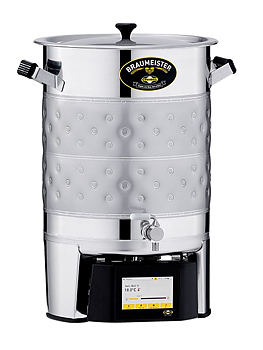
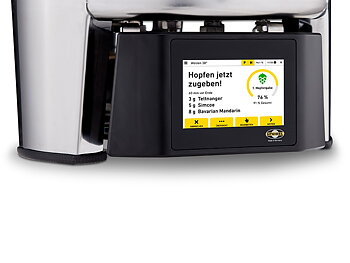
- Semi-automatic brewing systems with recirculating mashing (Speidel Braumeister, Grainfather, Brewzilla)
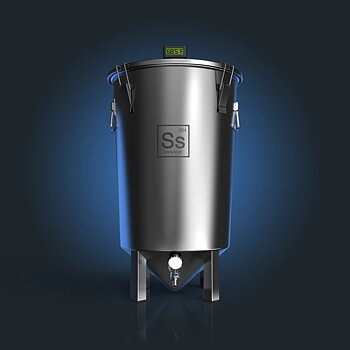
- Combinations of vessels for mashing and boiling (Ss Brewtech, Stainless kettles)
- Brew-in-a-bag (BIAB)
- Other versions where pails and kettles are rebuilt and used for mashing and boiling.


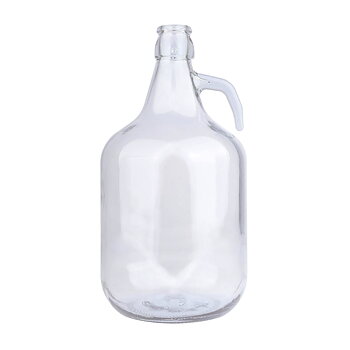
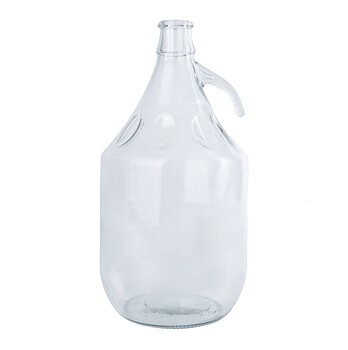
Fermentation of 10 - 25 liters of beer
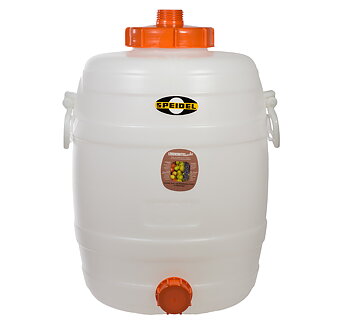
After mashing, boiling and chilling, the wort will ferment into beer. Tranfer the wort to a thouroughly cleaned and sanitized fermenter.
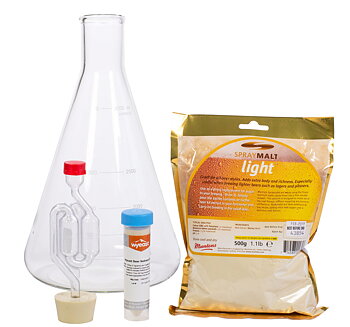
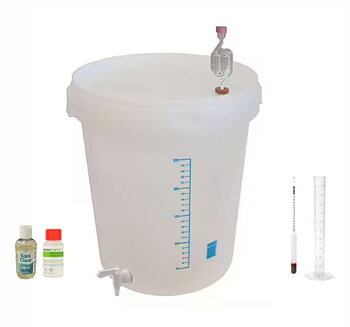
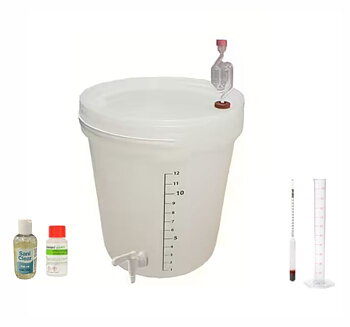
Our starter kits for fermentation includes the equipment needed to ferment and rack the beer post-fermentation.
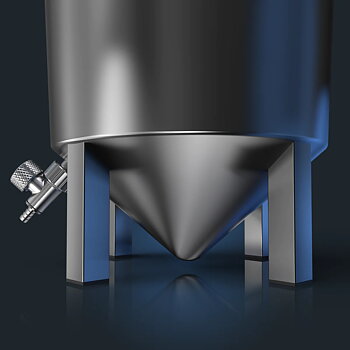
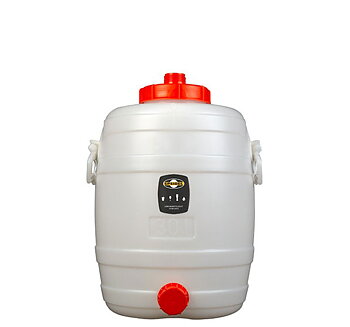
Looking for bigger fermenters? Our section for fermentation also includes larger fermenters and Stainless steel tanks for breweries. (However, the largest fermentation tanks is only available on offer).

Ingredients
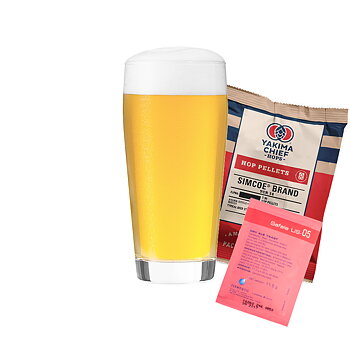
Humlegårdens own recipe kits are designed with handpicked ingredients from our own warehouse. The malt is crushed on-site, so you will not need to have your own grain mill to make 20 liters of delicious beer. Recipe is included (Swedish and English).
If you wish to brew smaller batches, it is possible to divide the ingredients for two different brewing sessions. However, we strongly recommend that you buy an extra pack of yeast in that case, instead of trying to re-use an opened yeast pack.






Wort chillers
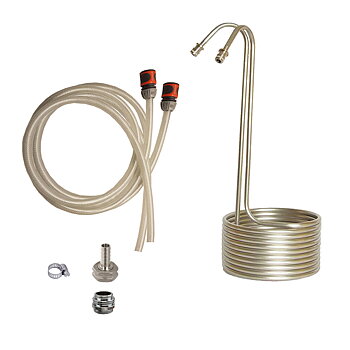
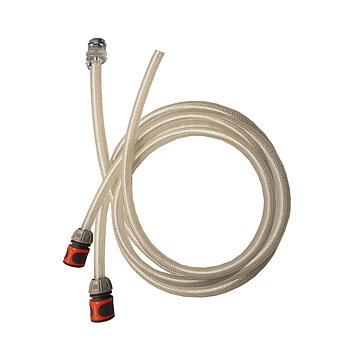
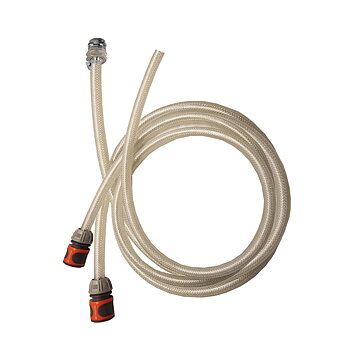
After the wort boil, the wort needs to be chilled as soon as possible. Some brewing systems include a wort chiller, but it might be necessary to buy this separately. A dedicated wort chiller that is intended for this purpose is something that we recommend strongly.
Different types of wort chillers:
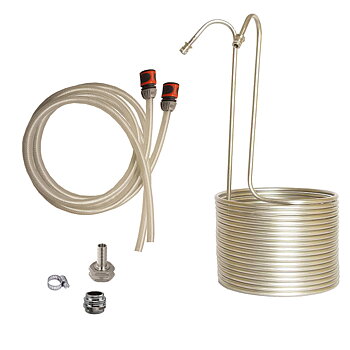
- Immersion chiller - metal tubing in which the cooling water travels, exchanging heat with the wort. Should be immersed in the wort for the last 10 minutes of the wort boil for sanitizing in boiling temperatures.
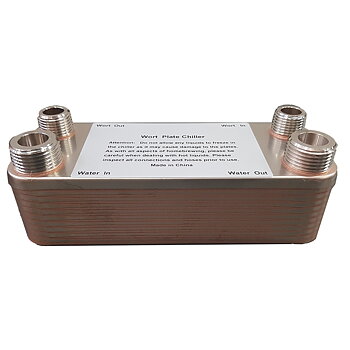
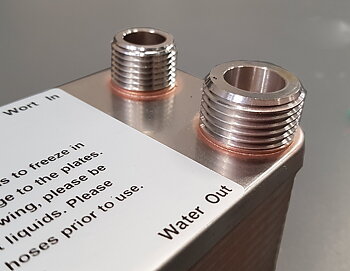
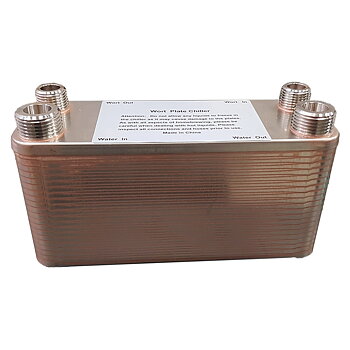
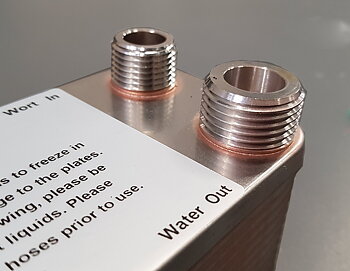
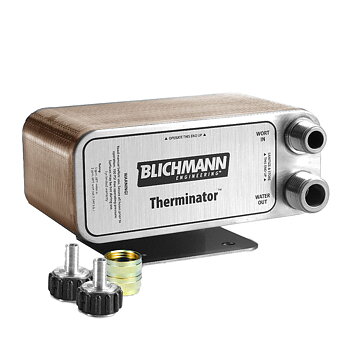
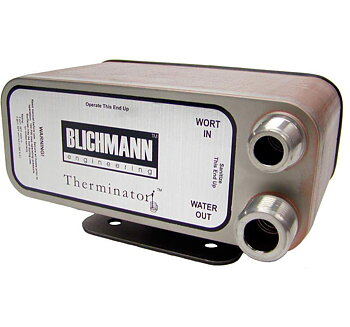
- Plate chiller - heat exchanger built from metal plates, where the cooling water and the wort travels through different channels. Fast and efficient wort chiller. May require some height difference, or a food-grade pump, to keep the wort flowing.
- Counter-flow chiller (CF-chiller) - tubing inside tubing, where the wort flows in the inner tubing, and in opposite direction to the cooling water which flows in the outer tubing. Efficient, but less so than the plate chiller.
- Water or ice bath - a large bath tub or sink filled with cool water may be used. More effective if there is some movement in the water. Avoid splashing, as un-boiled water might contaminate the wort when cool. Also requires a warning, as it may be very dangerous to transport a kettle with almost boiling wort. Not very efficient.
Useful equipment
This is the section for some other great stuff that puts a smile on a brewer's face...