Make your own wine from fruit and berries!
Making your own wine from garden berries and fruit is easier than many people think. You can choose the level you want to start at, and it is easy to scale up if you develop a taste for it. Below is a short guide to the equipment you need, the general process, and some simple recipes for the most common fruits and berries.
Equipment and Ingredients
-
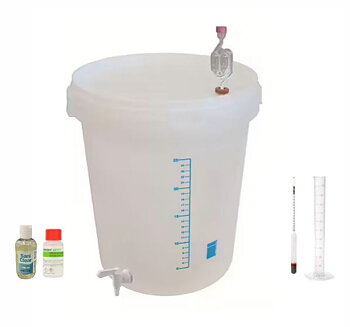
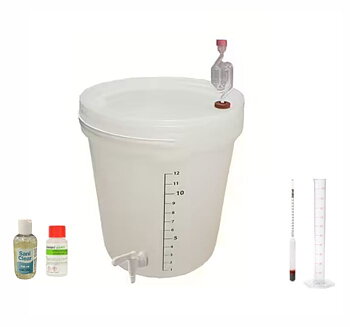
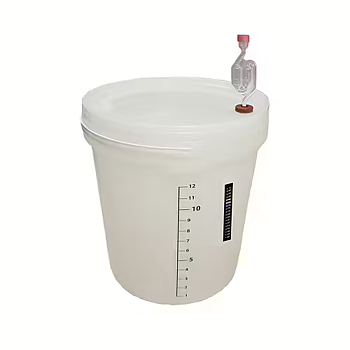
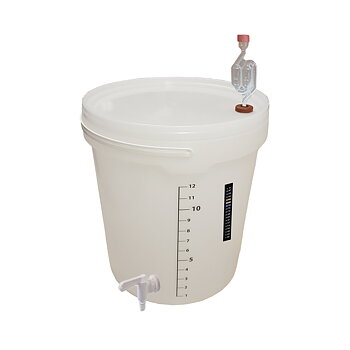
Two fermentation vessels: Fermentation bucket or demijohn made of food-grade plastic or a glass demijohn with an airlock/water trap. Used for fermentation and storage.
-
Siphon: Used to transfer the wine without bringing along the sediment.
-
Cleaning & Rinsing Agents: Avoid ordinary dishwashing detergent, as it can leave an aftertaste and is less effective at removing certain deposits where bacteria and other microorganisms can hide. An alkaline cleaning agent removes heavy dirt and most unwanted bacteria. A rinsing agent with a low pH takes care of most bacteria that may have survived the alkaline environment of the initial cleaning, as well as dissolving limescale deposits. Most rinsing agents also do not need to be rinsed off, leaving protection throughout the entire process.
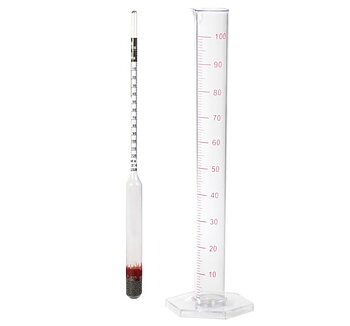
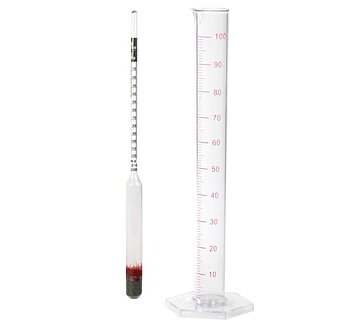
- Hydrometer/Fermentation Meter: A floating glass tube that measures the density of the must/wine. Sugar has a high density, and by measuring before and after fermentation, you can calculate the alcohol content.
- Straining cloth, filter bag or colander: After fermentation, you need to strain out the fruit. You can either place a filter bag around the siphon tube or let the wine run through a straining setup or colander when transferring the wine. For smaller batches, you can also place the fruit in a filter bag instead.
- Ingredients: Raw ingredients (fruit/berries), sugar, water, wine yeast, yeast nutrient, fining agent, stabilizing agent/fermentation stopper (helps prevent oxidation and extends the shelf life of your wine, as well as preventing further fermentation if you want to sweeten the wine after fermentation) and, if necessary, pectolase (an enzyme that breaks down fruit pulp). The easiest way to get started is our kit with yeast and wine additives
-
Bottles & Corks: Wine bottles and a corking machine when bottling, or Bag-in-Box. You can also use shrink capsules on your bottles to protect the cork from drying out during storage and give them a more professional finish.
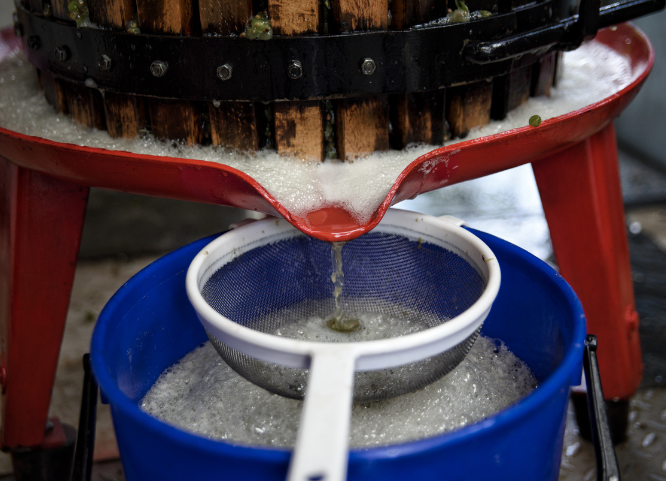
- Juice-Making Equipment: If you are going to make larger quantities of wine, you can simplify crushing and pressing the fruit with a fruit press. These can usually handle several kilos of fruit or berries at a time, while also straining out pieces of fruit, giving you easier-to-work-with must and less waste.



Step-by-step: How to make the wine
- Cleaning the equipment: Clean and then thoroughly rinse all equipment that will come into contact with your raw ingredients and the finished must.
- Prepare the ingredients: Rinse and crush or dice the fruit/berries. Avoid crushing hard seeds, as they can give the wine a bitter taste. Place the fruit in the fermentation vessel, add hot water (note that some vessels, such as those made from PET, cannot withstand temperatures above 60 °C), and add sugar and, if desired, enzyme (pectolase) and yeast nutrient. Leave for at least one hour and allow to cool to below 25 °C (it is advantageous to initially use half the amount of water hot and then cool it with cold water, topping up to the total amount of water) before stirring in the wine yeast. Once everything has been thoroughly mixed, you can take a sample for your hydrometer and write down the result so that you can calculate the alcohol content after fermentation.
- Primary fermentation (7–14 days): Leave at room temperature with the airlock (filled with water to the indicated level). Within 48 hours, you should see activity in the form of bubbles in the airlock or movement in the fermentation vessel. If you do not see any bubbles, first check that your fermentation vessel is airtight before considering adding more yeast. It is a good idea to gently shake the fermentation vessel after a few days of fermentation to help the yeast finish its work. When the airlock stops bubbling, fermentation is complete. You can preferably verify this by drawing off a small sample and using your hydrometer, which should show a reading below 1.005 if the wine has fully fermented.
- Straining & clearing (3–6 weeks): Transfer the wine to a new, cleaned vessel and strain out all fruit residue. Add stabilizer/fermentation stopper if desired and shake the vessel so that it can dissolve. After one hour, add fining agent and shake again. Then leave in a cool place for at least 3 weeks until the wine has cleared.
- Bottle & store: Transfer the wine into bottles or Bag-in-Box. If you want to sweeten the wine after fermentation, dissolve sugar in hot water and add it to taste before bottling (you can experiment with a smaller amount until you find the right dosage). Then preferably leave the wine for a few more weeks to mature. You can taste it from time to time to see when it is ready.
Recipes (for approximately 10 litres of wine)
Wine type |
Fruit / Berries |
Sugar |
Character & Tips |
| Grape Wine |
5 kg grapes of a variety suitable for winemaking |
2 kg |
Gently crush the grapes using clean hands or a ladle. Avoid crushing the seeds, as they will otherwise make the wine bitter |
| Apple Wine |
6 kg apples + 0.5 kg rowanberries |
2.6 kg |
The rowanberries provide necessary astringency and acidity. Preferably use tart apples. |
| Currant Wine |
1.5 kg red currants + 1.5 kg black currants |
2.8 kg |
Very flavorful with a deep color. Well suited to longer aging. |
| Plum Wine |
5 kg ripe plums |
2.5 kg |
Give it plenty of time to clear and preferably use pectolase, as plums contain a lot of pectin, which can otherwise result in a very cloudy wine. |
| Forest Berry Wine |
4 kg blueberries or raspberries |
2.2 kg |
Produces a fresh and fruity wine. Often requires additional yeast nutrient. |
| Elderflower Wine |
1 litre elderflower blossoms without stems + 6 pressed lemons |
3 kg | Fresh flavor that also works well if you want to bottle-carbonate the wine (in that case, do not use fermentation stopper!). Make sure you only use flowers from true elderberry plants. |
| Rhubarb Wine |
3.5 kg rhubarbs |
3 kg |
Pleasant acidity that becomes softer with some aging. Cut the rhubarb into small pieces and boil it first for approximately 20 minutes. |
Four tips for better results
- Aging pays off: Newly made fruit wine often tastes alcoholic and unbalanced. Let the wine remain in the bottle for at least 3–6 months (preferably a year) to allow the flavors, acidity, and alcohol notes to harmonize.
- Balance the acidity: Some fruits have low acidity (e.g. pear-based drinks). If necessary, add a little citric acid or tartaric acid so that the wine does not taste flat.
- Tannins add complexity: Many red wines aged in wooden barrels can have a slightly woody and astringent taste from the tannins in the barrels. In the right amount, this can add complexity and balance the sweetness. Tannins are available in powder form and can be added before clarification.
- Back-sweetening: If you want a sweeter wine, you can add a little extra sugar or sweetener immediately before bottling, provided that you have completely stopped fermentation with fermentation stopper. This can make stronger or overly acidic wines more balanced and enjoyable.