
Brewing with malt extract
Extract brewing means that you use liquid or dry malt extract instead of crushed malt.
Most of our malt extracts are un-hopped, which means that hops are bought separate and added by the brewer.
You can choose to create your own recipes from all the different malt extracts, hops varieties and yeast strains.
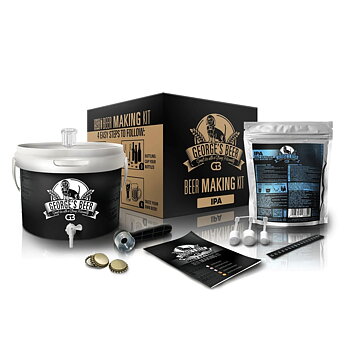
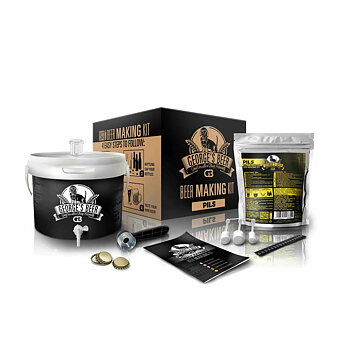
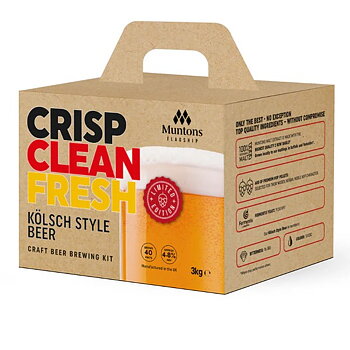
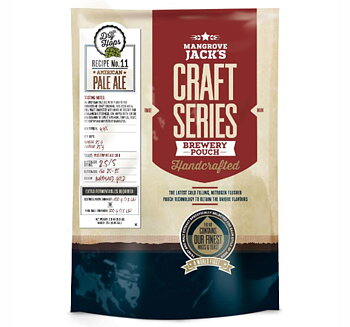
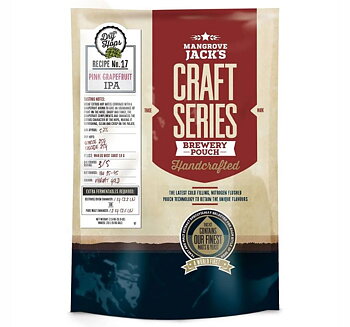
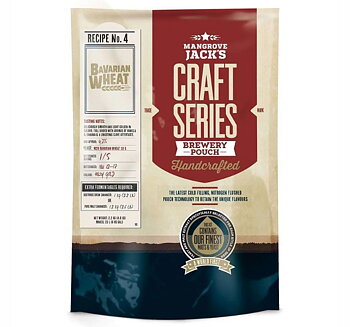
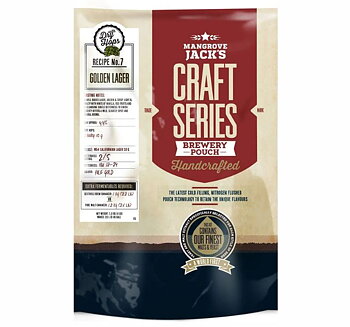
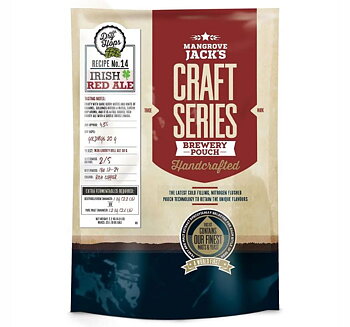
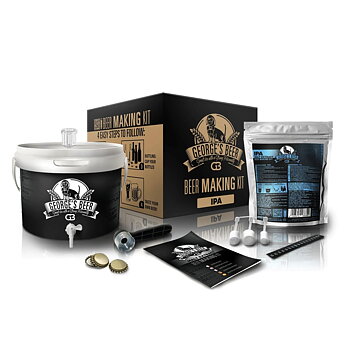
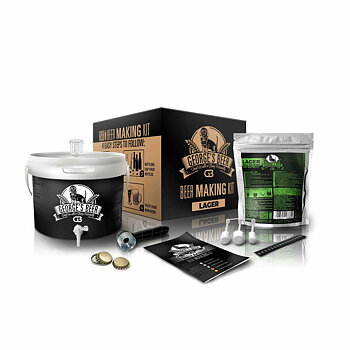
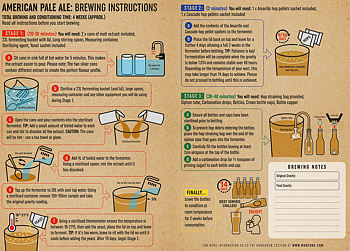
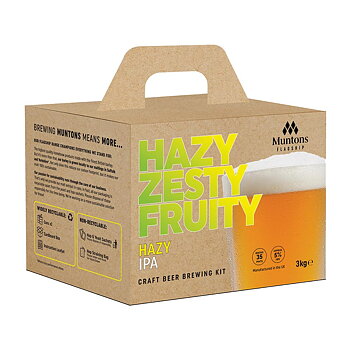
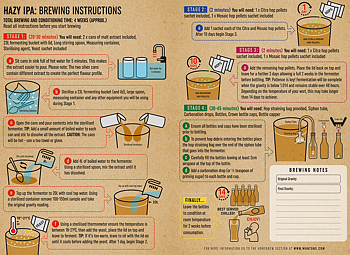
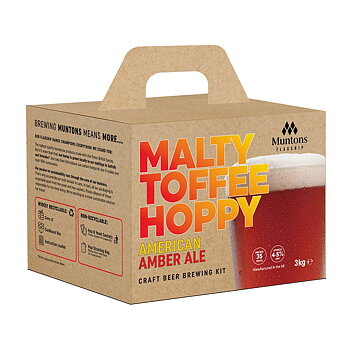
Or, you may choose to get one of our own recipe kits with brewing instructions and ingredients included. Our extract brewing kits contain malt extract, hops and yeast, for a batch size of 20 - 25 liters of beer, depending on beer style.
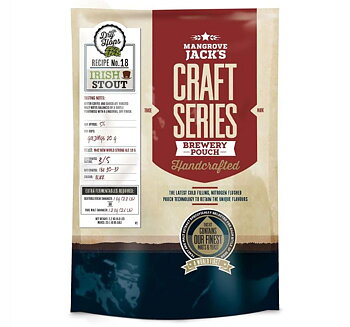
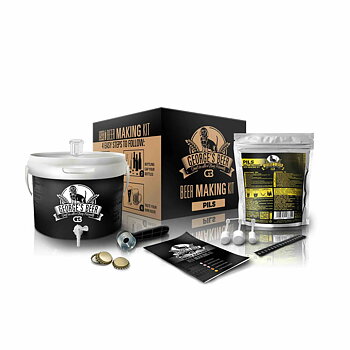

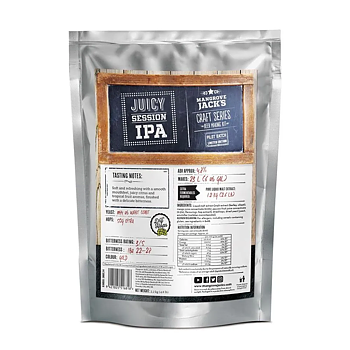
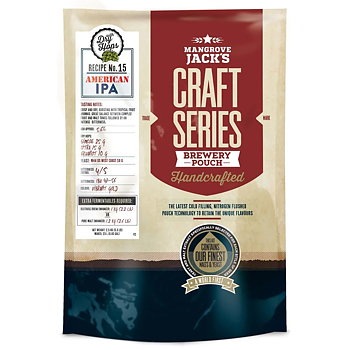
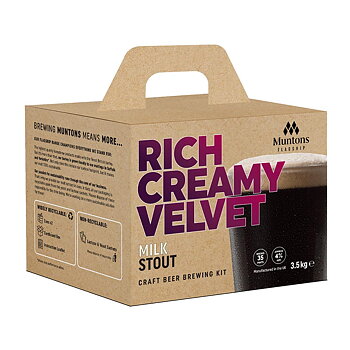
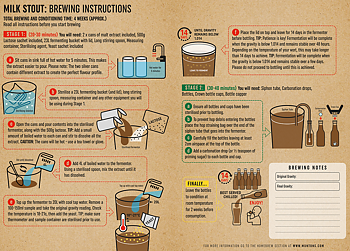
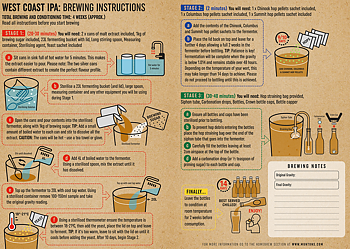
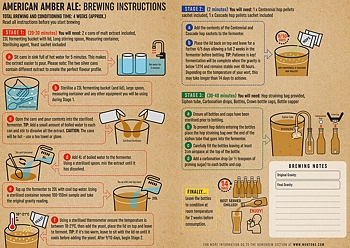
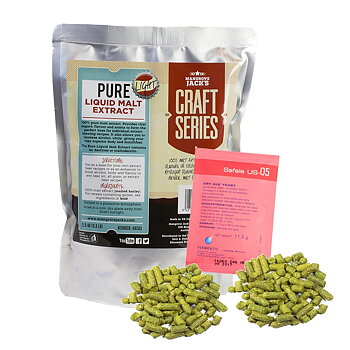
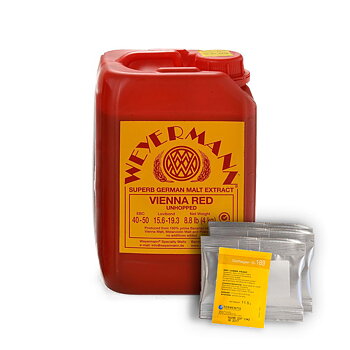
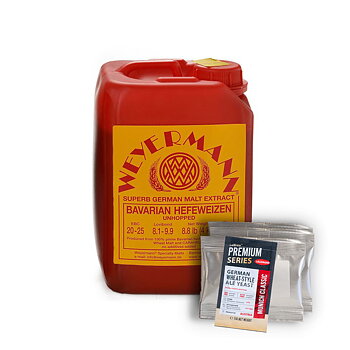
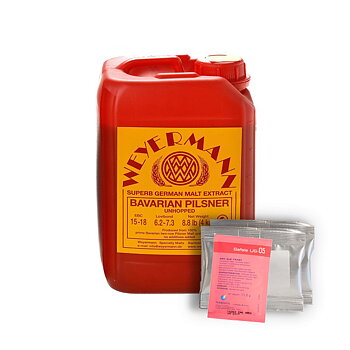
Malt extract is condensed wort
Diluted with water to the desired concentration, it has become a wort. After that, it can be boiled with hops for bitterness and aroma.
Wort is the term for unfermented beer.
Malt extract is available as liquid malt extract (LME) or dry malt extract (DME).
In DME the sugars are more concentrated than in LME, which partly consists of water.
The more you dilute a malt extract, the lower the concentration (often referred to as the Specific Gravity = SG) of the wort gets.
1 kg DME gives 10 liters of wort with a concentration of ca 36 °Oe (SG 1,036).
1 kg LME gives 10 liters of wort with a concentration of ca 30 °Oe (SG 1,030).

Equipment for extract brewing
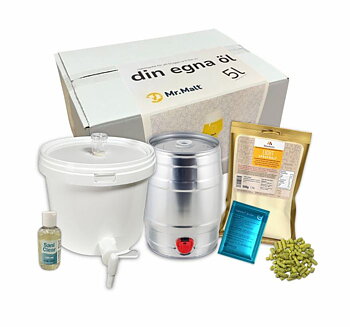
We recommend our Fermentation starter kit and Brew in a Bag starter kit which includes most of the equipment you will need for extract brewing.
- Malt extract
- Hops
- Yeast
- Cleaner and sanitizer for brewing
- Brew kettle (15 L or larger)
- Fermentation bucket with lid and airlock
- Juice strainer and a long spoon
Preparations
If using liquid yeast you may need to make a yeast starter a couple of days before brewing.
With dry yeast you normally don't need to do anything special.
Please note that your fermentation vessel must be clean and sanitized before fermentation. If it is old or scratched, it may be better to invest in a new fermentation bucket.
Instructions
Put the yeast pack (or yeast starter) in the same room as you are going to use for fermentation, so it has time to adjust.
Thoroughly clean and sanitize everything you’ll be using to make your own beer. This is one of the most important steps when brewing beer!
Depending on the size of your kettle, you can choose different approaches:- To make a concentrated wort boil, where half the extract is added at the start of the boil and the rest in the last minutes of the boil. The wort is then diluted with cold water to the desired wort concentration. When brewing 20 - 25 liters of beer, the concentrated boil should however never be less than 10 liters.
- Using a large kettel and boil all water and extract from the beginning. This usually requires a specific wort chiller to be used for chilling the wort.
- Combining malt extract with a small proportion of crushed malt (usually caramel or roasted malt types), into a partial mash. This impacts the colour and flavour of the wort. Put the crushed malt in a filtering bag and allow it to steep in the 60 - 70 °C brewing water for half an hour. After that you can continue with either of the methods above.
For brewing about 20 - 25 liters of beer, according the the first method described above:
- If using liquid malt extract, soak your cans of malt extract in hot water. This will make it easier to pour out the extract.
- Heat your water in a large kettle, the bigger the better. The exact amount of water you use isn’t critical at this moment, for extract brewing. About 15 liters of water should be enough. Leave a couple inches to the top of the brew kettle to avoid boiling over.
- When the water is about 70 °C you can add half the malt extract while stirring well to avoid scorching in the bottom of the kettle. Heat to a boil and watch for boilovers. Your water has now turned into wort!
- You can add water during the boil to compensate for evaporation.
- From the start of the boil, add hops depending on your brewing recipe.
- When the wort has boiled for about 50 minutes, the rest of the malt extract should be stirred into the wort.
- After 60 minutes it is time to cool the wort. Turn off the heat and move your kettle to a nearby sink for an ice bath. Fill the sink with cold water and replace as needed.
- Cool your wort to the right temperature for adding the yeast (usually when it is about 20 - 25°C, or according to the yeast pack specifications) or to when it is cool enough to get to the right temperature after dilution with cold water.
- It’s important from here on that everything that touches your wort is thoroughly sanitized.
- Carefully pour the wort into a sanitized fermenter, through a clean and thouroughly sanitized juice strainer.
- Top off your wort with water to make the right batch volume / desired wort strength. Try to get the temperature within the right range for your yeast.
- Add the yeast according to the instructions on the package. Give it a good stir with your sanitized spoon, or shake the fermentation vessel.
- Put the fermentation vessel in a dark room with stable temperature in the right range.
- Close the lid with air-lock attached. Fill your air-lock about halfway with clean water or sanitzer.