
Making a Yeast Starter
Making a yeast starter is an easy method for increasing the number of healthy yeast cells which in turn will help you brew an even better and more consistent beer! As always when handling yeast, all equipment must be clean and sanitized.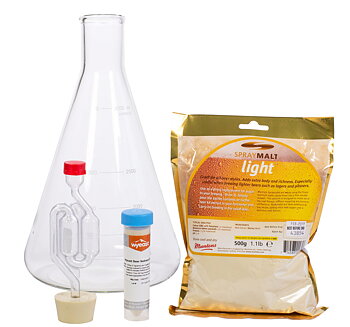
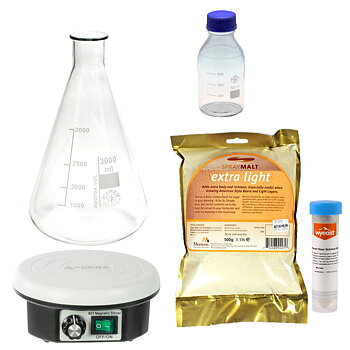
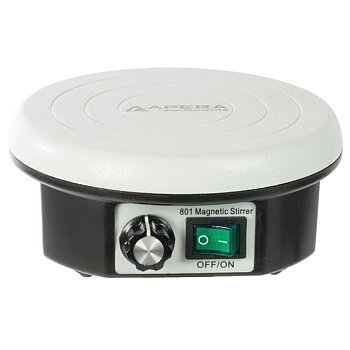
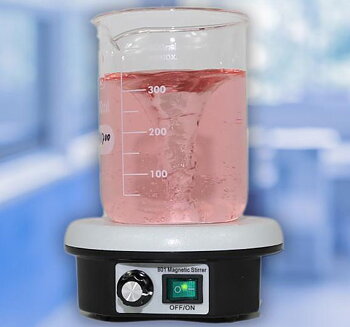
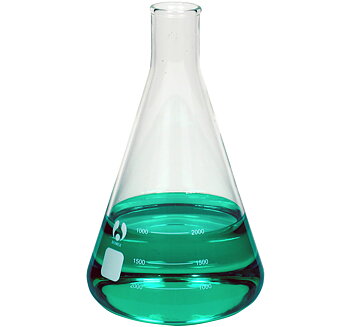


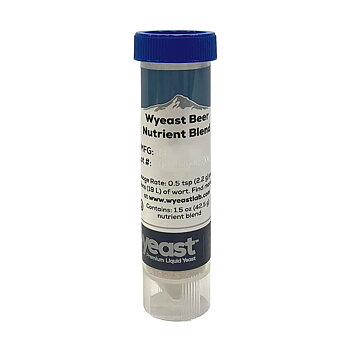
Humlegårdens Propagation Starter kit contains items for propagating yeast and making a yeast starter at home.
The kit includes:
- Spraymalt 500 g
- Nutrient Blend
- Erlenmeyer flask 3000 ml
- Stopper
- Airlock
In addition to this, you also need:
- Yeast
- Scale
- Pot and whisk (unless you boil directly in the flask)
How much starter is needed?
The amount of yeast required depends on the gravity, fermentation temperature and the yeast strain.
The size of the starter will determine how many new yeast cells can be produced.
Guidelines for 20 liters of wort:
Ale OG 1.050 fermentation temp 18 °C: approx 0.7 - 1.5 liter starter
Ale OG 1.070 fermentation temp 18 °C: approx 2 - 3 liter starter
Lager OG 1.050 fermentation temp. 12 °C: approx 3 liter starter
If the flask can not hold enough volume or if the yeast's health is poor or if the number of yeast cells is low, the starter can be stepped up after a few days by pouring off the liquid and adding new wort to the yeast slurry.
Or you could simply start with more packets of yeast.
When should I make the starter?
2 - 4 days before brew day.
Step by step
- Measure 100 grams of malt extract and 1 ml of nutrient blend per liter of water.
- Mix malt extract, nutrient blend and water in your flask or pot.
- Slowly bring to a boil. Beware of rapid temperature changes and do not place the cold flask on a hot plate. Watch out for boil overs!
- Boil for 10 minutes. Then turn off the heat but leave the flask on the plate for a few minutes.
Cover with a lid or a piece of aluminum foil. The starter is now pasteurized. - Cool to 20 °C in a water bath. If you used a pot, pour the cooled starter into the sanitized flask.
- Add the yeast and aerate by swirling the flask.
- Insert stopper and airlock and add water up to the line in the airlock.
- Swirl the flask a couple of times during the first day, for aeration and CO2 extraction (remove the airlock to prevent the water from going into the starter).
- When the yeast has settled (flocculated) and the starter has cleared, the starter is ready.
You can decant the yeast starter if you don’t want to add all the starter liquid to your beer.
By storing it in the refrigerator for a day, the yeast should fall to the bottom of the flask (time required varies).
Then pour off the liquid while retaining the yeast slurry.