Instructions for roasting coffee at home
Roasting your own coffee is easy. You choose which level you want to start at and can get started quickly without major investments. The big advantage of roasting yourself is that you always have fresh coffee at home. The coffee will taste both more and better than regular coffee and cost half compared to ready-roasted coffee of the same quality.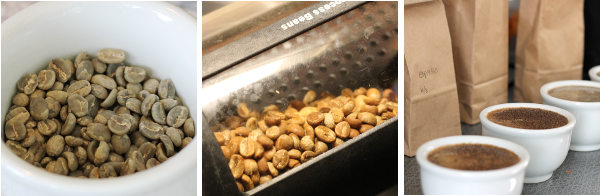
Different roasting methods affect the coffee in different ways. Test yourself to find one that fits your equipment. Below are a few instructions that are good to have as a starting point.
Roast coffee in the oven
An easy way to roast coffee is to use a regular oven. The advantage is that you do not have to buy any special roasting equipment. It is also easy to adjust the temperature and to follow the roasting process visually through the oven window. Different ovens differ and it is good to test yourself.
You need the following
- An ordinary oven
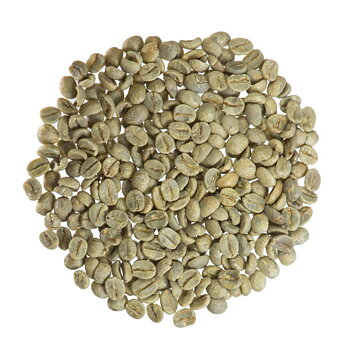
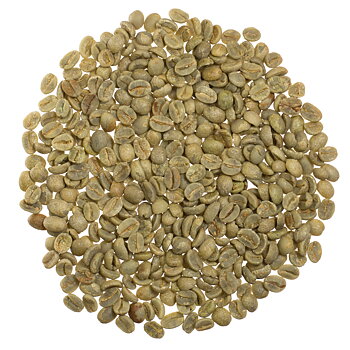
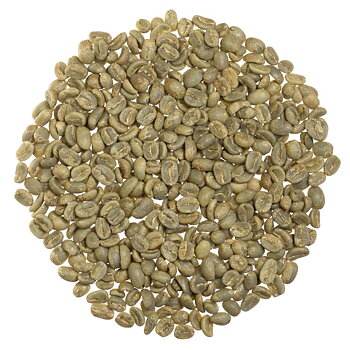
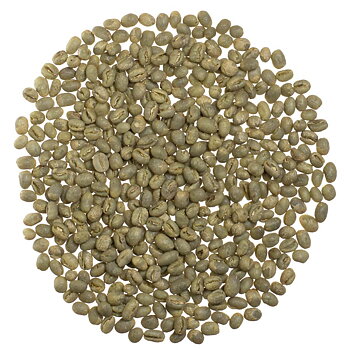
- Green coffee
- An oven plate with high edges, preferably perforated
- A metal colander or similar container for cooling

Instructions for roasting in the oven
- Preheat the oven to 230 - 250 °C. Use the hot air function if available.
- Spread the coffee in a thin layer on an oven plate.
- Set the plate in the middle of the oven, start a timer and start the kitchen fan.
- During the first few minutes, the color of the beans slowly changes from green to yellow.
- Shake or stir the beans if the roasting appears to be uneven, but do not keep the oven door open for too long as the temperature then drops.
- After 6 - 9 minutes, the first crack occurs and the beans expand in size.
- After a total roasting time of 10 - 15 minutes, the beans have usually reached a suitable roasting.
- Take out the plate and pour the beans in the colander to cool them down quickly
- Store the freshly roasted beans in a jar or tight bag.
Keep the following in mind when roasting in the oven
- The actual oven temperature may differ from that on the control knob. We recommend using a separate thermometer for more accurate measurement.
- If the roasting time should exceed 15 - 20 minutes, this can result in a slightly flat and subdued taste. Try to increase the oven temperature. If the beans are roasted too quickly, you need to lower the temperature slightly.
- Different types of coffee may require different roasting times to reach the same degree of roasting.
- Roasting in the oven can sometimes give a slightly uneven roasting. In that case, you can stir the beans during the roasting from time to time. Do not keep the door open for too long or the temperature will drop in the oven.
- When the beans turn light brown, the first crack is about to start. This means that the beans expand in size and a clicking sound can be heard. After this, the development goes very quickly and you can easily burn the beans if you are not ready.
- Cool the beans down as quickly as possible to room temperature to stop the roasting process.
- During roasting, the silverskin on the outside of each bean comes loose. Take care during the cooling to remove the skins / chaff by shaking around the beans.
- The coffee is good completely freshly roasted, although some believe that the beans should be allowed to rest for one or more days after roasting. The flavor develops the first time and then lose flavor. Enjoy the freshly roasted coffee!
Roast coffee with Whirley Pop
The Whirley Pop is actually intended for making popcorn but roasts coffee at just as well. The method is similar to the way many roasted coffee in the early 20th century, in a pan on a stove. The advantages of Whirley Pop are that you can stir the beans continuously and thus get an even roasting. It is also easy to monitor the roasting by opening the lid and hearing the first crack. The roast has a stirrer that you crank to keep the beans moving throughout the roasting. There are two variants of Whirley Pop - the original model in aluminum and a slightly heavier model in stainless steel. The latter also works on induction hobs.
You need the following
- Whirley Pop
- Green coffee
- A metal colander or similar container for cooling

Instructions for toasting with Whirley Pop
- Start by putting your Whirley Pop on the stove and turn up the heat to half power.
- Start the kitchen fan.
- Wait a few minutes so that the hob and the roaster are completely heated.
- Pour the raw coffee into the Whirley Pop. Start cranking and continue throughout the roasting.
- After about 6 - 8 minutes, the first crack should occur and a clicking sound can be heard.
- Continue roasting and lift the lid from time to time to see the color of the beans.
- After a total of 8 - 12 minutes of roasting time, the coffee should be ready.
- Pour the beans into the colander and cool the beans as quickly as possible.
- When the beans have reached room temperature, they can be poured into storage containers.
Keep the following in mind when toasting with Whirley Pop:
- If the roasting time should exceed 15 - 20 minutes, this can result in a slightly flat and subdued taste. Try to increase the temperature. If the beans are roasted too quickly, you need to lower the temperature slightly.
- It is important to constantly crank so that the coffee beans have an even roasting.
- When the beans turn light brown, the first crack is about to start. This means that the beans expand in size and a clicking sound can be heard. After this, the development goes very quickly and you can easily burn the beans if you are not ready.
- Cool the beans as quickly as possible to room temperature to stop the roasting process.
- During roasting, the silverskin on the outside of each bean comes loose. Take care during the cooling to remove the skins / chaff by shaking around the beans.
- Feel free to read more about toasting with Whirley Pop in the book Home Coffee Roasting by Ken Davis.
- The coffee is good completely freshly roasted, although some believe that the beans should be allowed to rest for one or more days after roasting. The flavor develops the first time and then lose flavor. Enjoy the freshly roasted coffee!
Roast coffee with Gene Café
The Gene Café is an automatic drum roaster for roasting coffee at home. The roasting drum rotates as it is heated, thereby efficiently keeping the beans moving for an even roast. The drum is made from heat-proof glass with stainless steel agitators.
You need the following
- Gene Café
- Green coffee

Instructions for roasting with Gene Café
- Add coffee into the roasting drum
- Select the desired time and temperature using the two knobs
- Start the kitchen fan
- After about 10 minutes, the beans should begin to change color (first crack).
- When the pre-programmed time is over, a cooling program is automatically started where cold air is blown through the beans. If you want to stop roasting earlier, you can press the temperature button at any time.
- When the beans have reached room temperature, they can be poured into storage containers.
Keep the following in mind when toasting with Gene Café:
- If the roasting time should exceed 15-20 minutes, this can result in a slightly flat and subdued taste. Then try to increase the temperature at the next roasting. If the beans are roasted too quickly, you need to lower the temperature slightly.
- When the beans turn light brown, the first crack is about to start. This means that the beans expand in size and a clicking sound can be heard. After this, the development goes very quickly and you can easily burn the beans if you are not ready. To stop roasting earlier, you can press the temperature button at any time.
- During roasting, the silverskin/chaff on the outside of each bean comes loose. Remember to empty the chaff collection container.
- The coffee is good completely freshly roasted, although some believe that the beans should be allowed to rest for one or more days after roasting. The flavor develops the first time and then lose flavor. Enjoy the freshly roasted coffee!